How to Install Puck Lights Under Kitchen Cabinets | Easy Guide
How to Install Puck Lights Under Kitchen Cabinets: A Simple Step-by-Step Guide to Brighten Your Space
Transforming your kitchen's ambiance and functionality can be as simple as installing puck lights under your cabinets. These compact, versatile fixtures provide focused illumination, making meal prep easier and giving your kitchen a warm, inviting glow. If you're wondering how to install puck lights under kitchen cabinets, we’ve got you covered with this detailed, easy-to-follow guide. Whether you're a DIY enthusiast or just looking for professional tips, this article will help you brighten your kitchen efficiently and safely.
What Are Puck Lights and Why Are They Popular?
Puck lights are small, circular light fixtures designed for under-cabinet applications. They typically use LED technology, offering energy-efficient, long-lasting illumination. Their compact size allows them to fit seamlessly under cabinets, providing a clean, modern look while avoiding the clutter of bulky fixtures.
Beloved by homeowners and designers alike, puck lights are praised for their simplicity, versatility, and ability to create accent lighting that enhances the overall aesthetic of the kitchen. Whether you're highlighting a decorative backsplash or improving task lighting, puck lights are a practical choice.
Should You Hire a Professional or Install Puck Lights Yourself?
Deciding whether to undertake the installation yourself or hire a professional depends on your comfort with electrical work and the complexity of your kitchen setup. While many DIYers successfully learn how to install puck lights under kitchen cabinets with some basic tools and patience, others may prefer expert assistance to ensure safety and optimal results.
What Are the Advantages of DIY Installation?
Cost savings
Personal satisfaction
Flexibility to work on your schedule
When Should You Call a Professional?
You're unfamiliar with electrical wiring
Your kitchen has complex wiring or existing outlets
You desire a flawless, factory-like finish
Local building codes require licensed electrical work
What Tools and Materials Do You Need to Install Puck Lights?
Preparation is key. Gather the following tools and materials before beginning:
LED puck lights with mounting brackets
Power supply or transformer (if required)
Wireless dimmer switch (optional for brightness control)
Measuring tape and pencil
Level for precise placement
Drill with appropriate drill bits
Screwdriver
Wire strippers
Electrical tape or wire connectors
Extension cords or additional wiring (if needed)
How to Find the Perfect Placement for Your Puck Lights
Proper placement ensures even lighting and a balanced look. Consider the following tips:
Position puck lights about 3-6 inches from the front edge of the cabinet underside.
Spacing should be approximately 12-18 inches apart to avoid dark spots.
Avoid installing lights directly in the corners or overly close to walls to prevent uneven illumination.
Plan for the placement of wiring and power sources before marking locations.
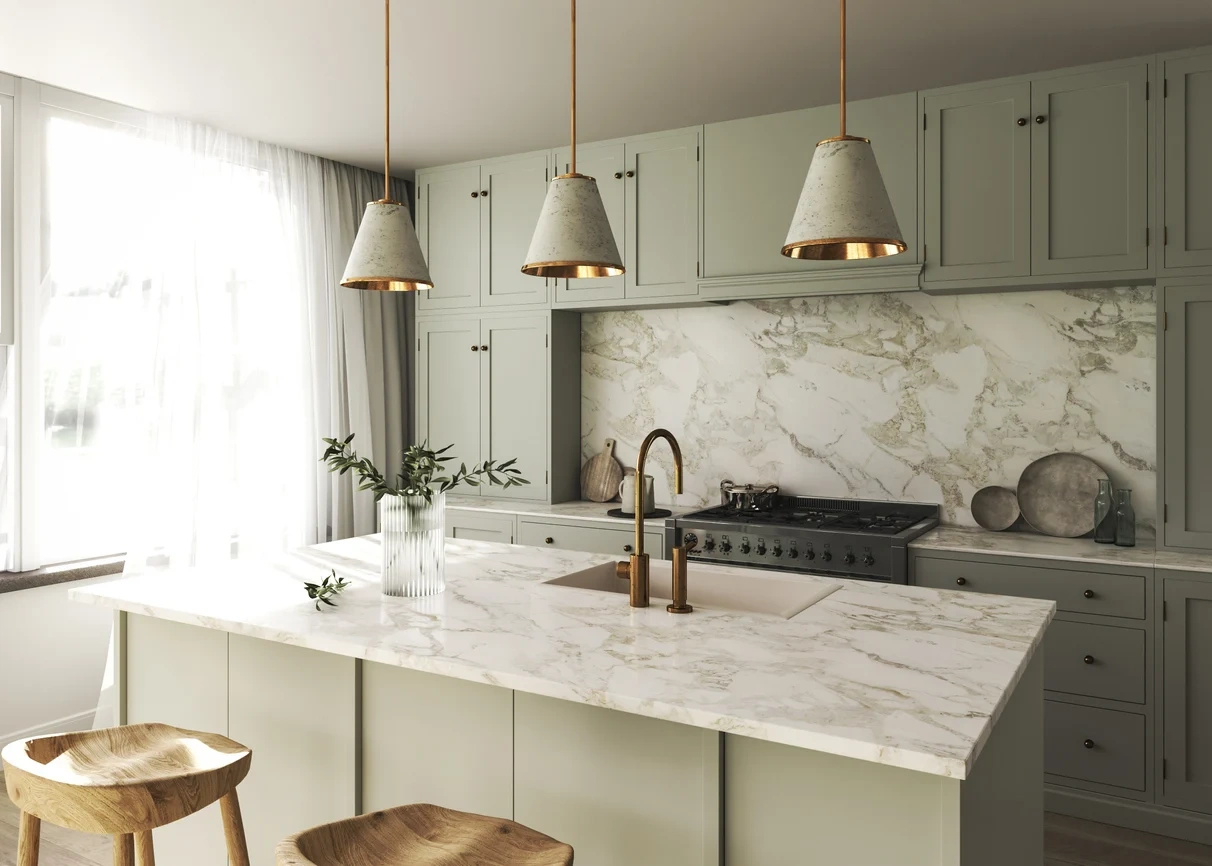
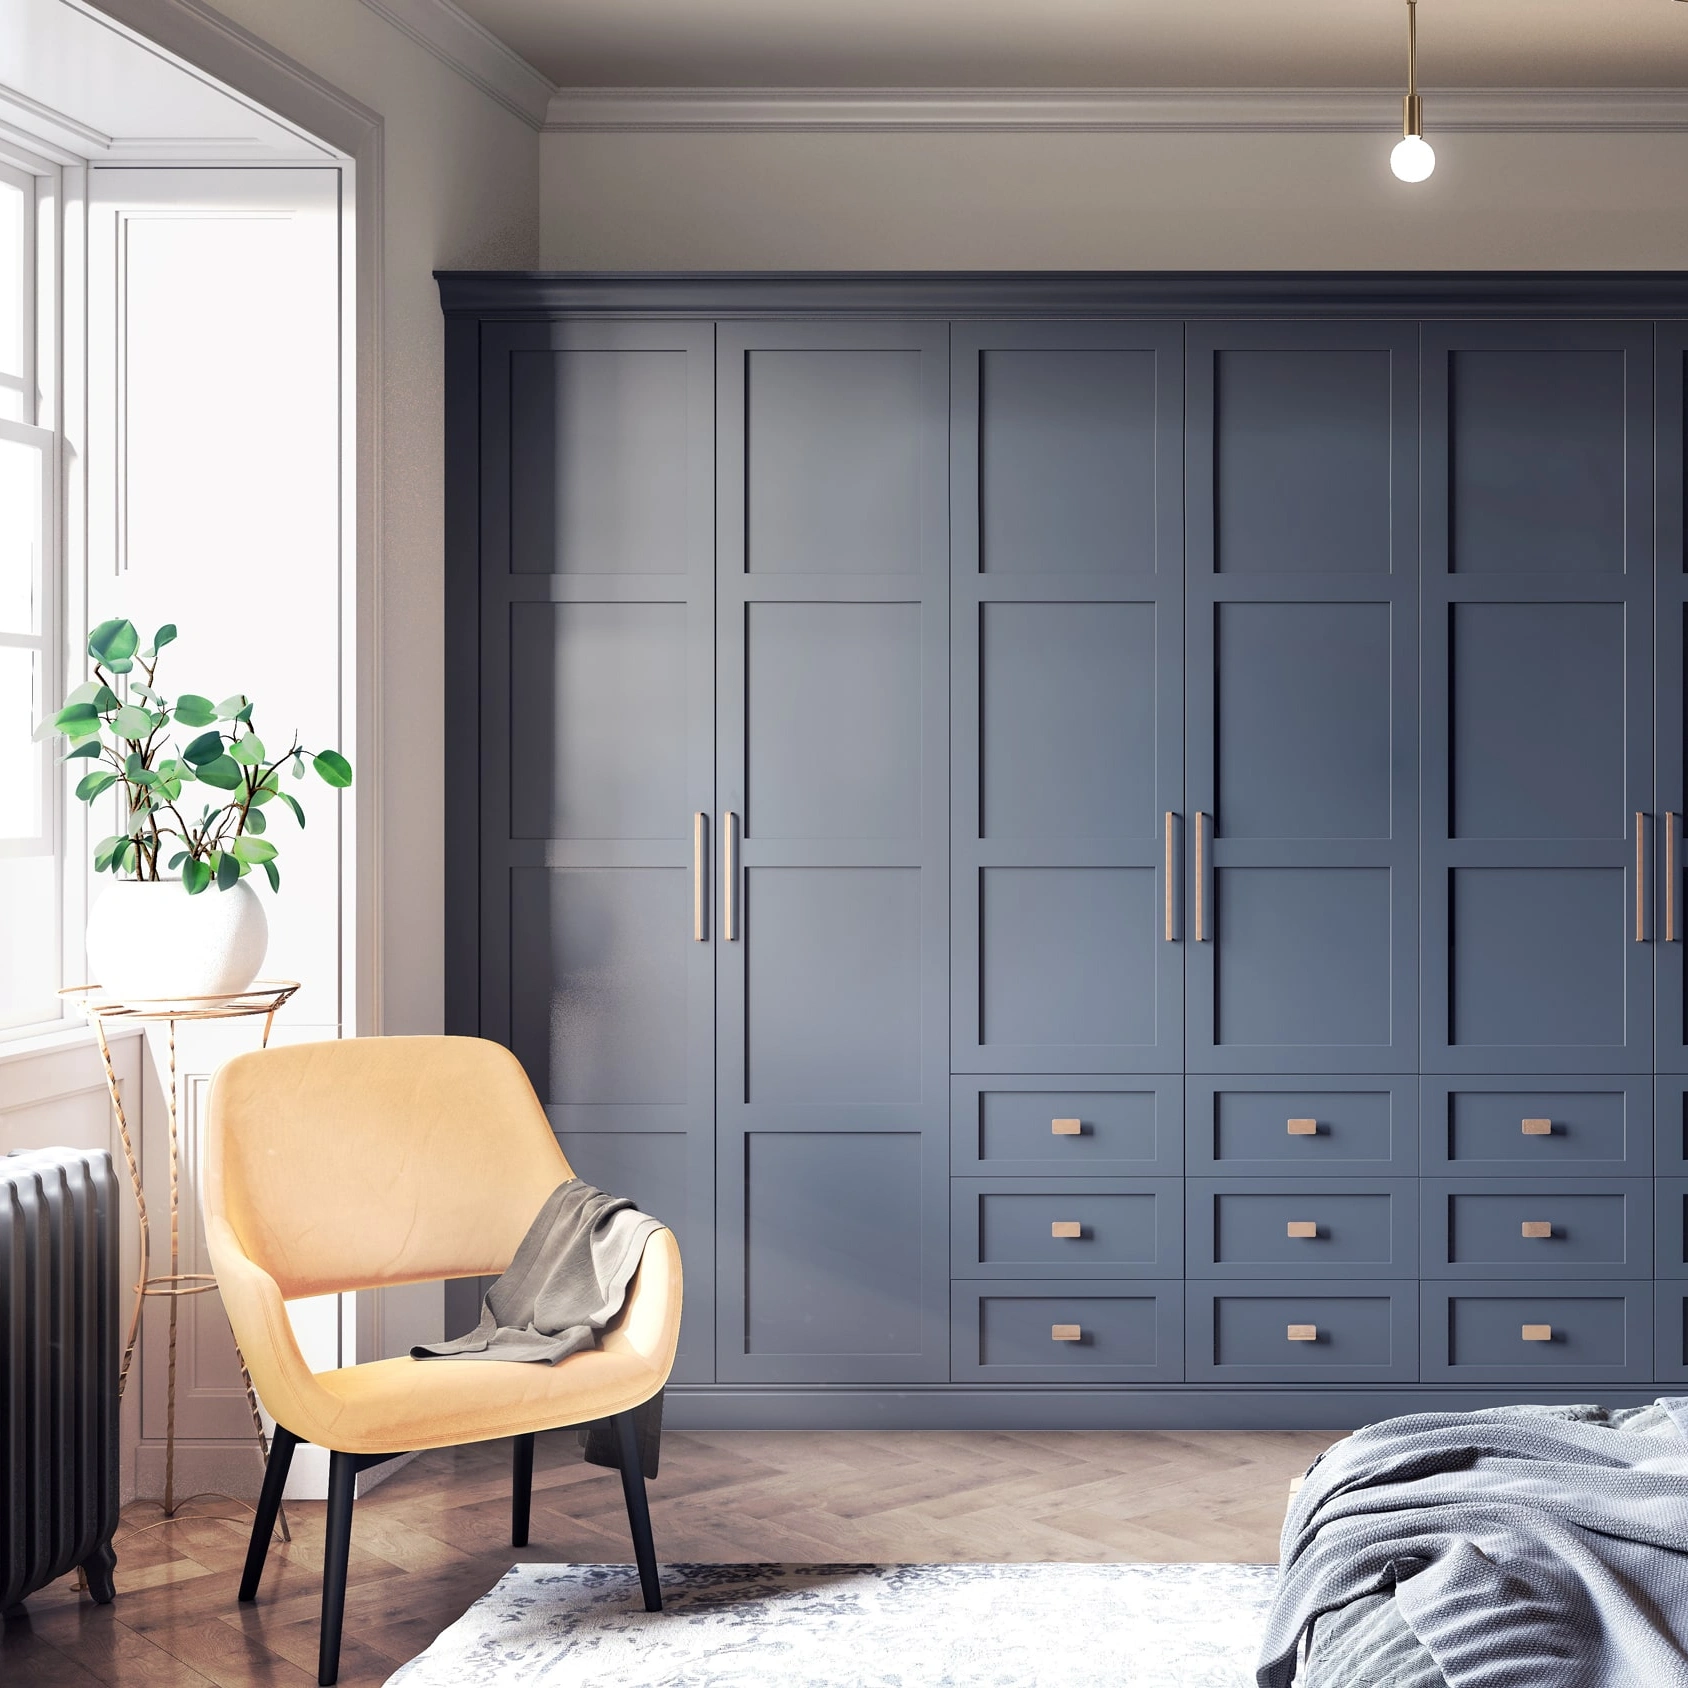
For design inspiration, explore shaker cabinets options that complement your lighting plan and overall aesthetic.
Step-by-Step Guide: How to Install Puck Lights Under Kitchen Cabinets
Step 1: Turn Off Power and Prepare Your Workspace
Before starting, switch off the circuit breaker supplying power to your kitchen to ensure safety. Clear the workspace, remove any obstacles, and put on safety gear if necessary.
Step 2: Measure and Mark Light Placement
Using your measuring tape and pencil, mark the locations for each puck light based on your planned spacing. Use a level to ensure straight, even lines for a polished look.
Step 3: Drill Pilot Holes
Carefully drill small pilot holes at each marked position. This guides the screws and prevents wood splitting. Be cautious to avoid drilling into wiring or other hidden components inside your cabinets.
Step 4: Connect the Wiring
If your puck lights are wired, connect the wires according to manufacturer instructions. Typically, this involves attaching the positive and negative wires with wire connectors or electrical tape. Use wire strippers to prepare the ends if necessary.
Step 5: Mount the Puck Lights
Secure each puck light to the underside of the cabinet using the screws provided or recommended by the manufacturer. Ensure the lights are flush and aligned correctly.
Step 6: Connect to Power and Test
Now, connect the lights to your power source or transformer. Turn the circuit back on and test each puck light. Adjust placement if needed to ensure an even, bright illumination with no dark spots.
Step 7: Install Optional Controls
If you opted for a dimmer or remote control, install these components according to instructions. Test and adjust settings to tailor the lighting to your preferences.
How Can You Style Your Kitchen with Puck Lighting?
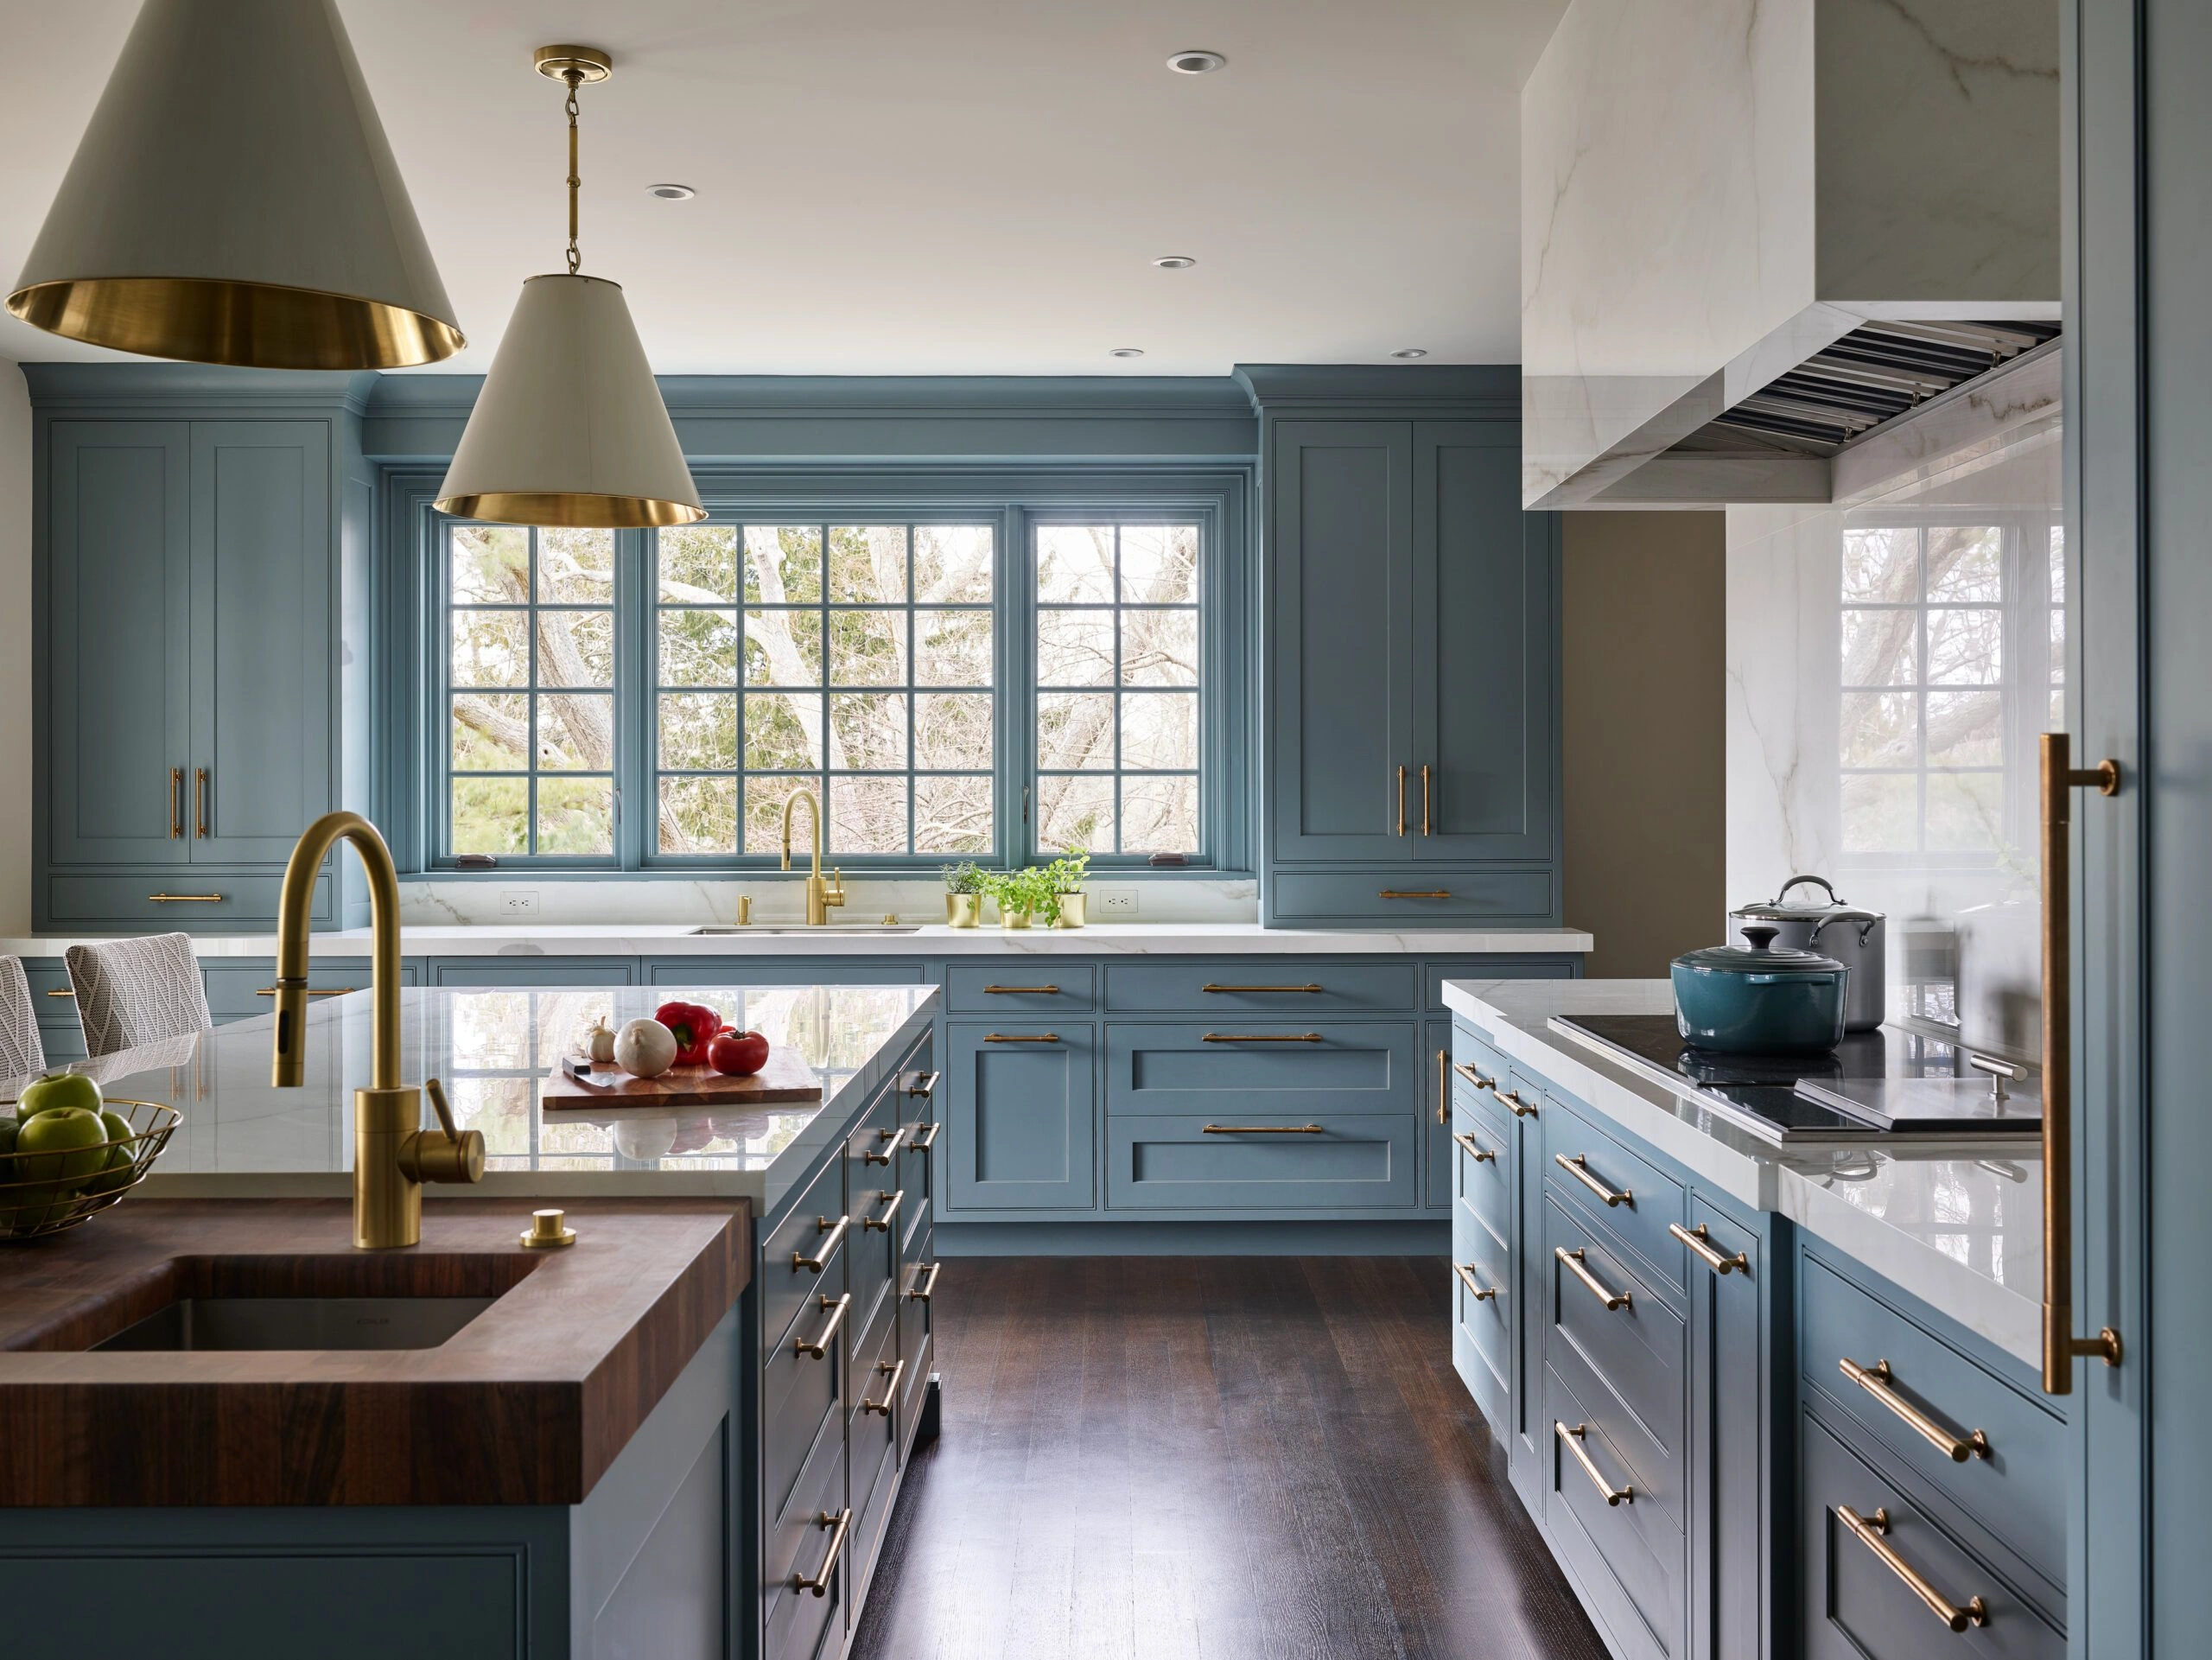
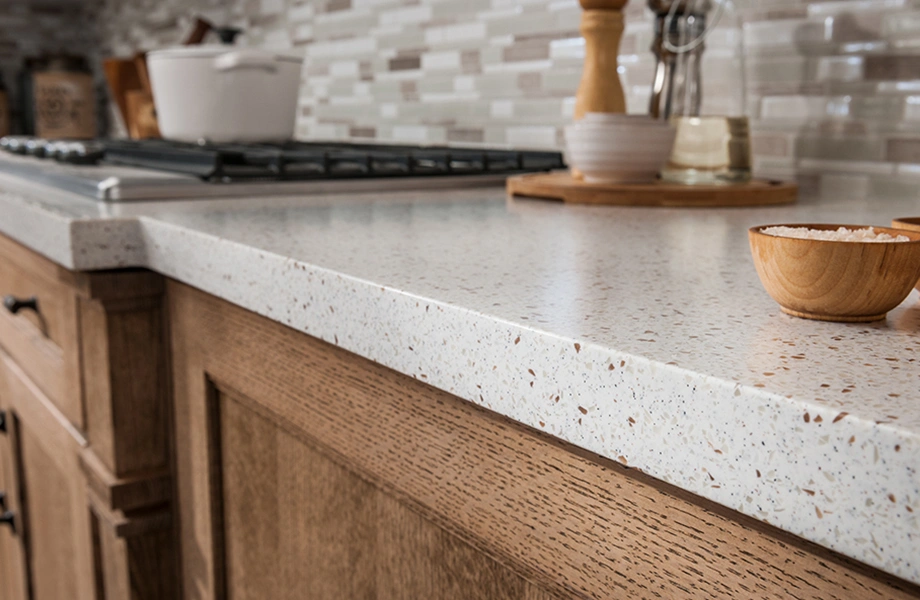
Beyond mere functionality, puck lights can elevate your kitchen's style. Combine them with different cabinet styles like decorative wood finishes, or use different finishes to match your fixtures and hardware.
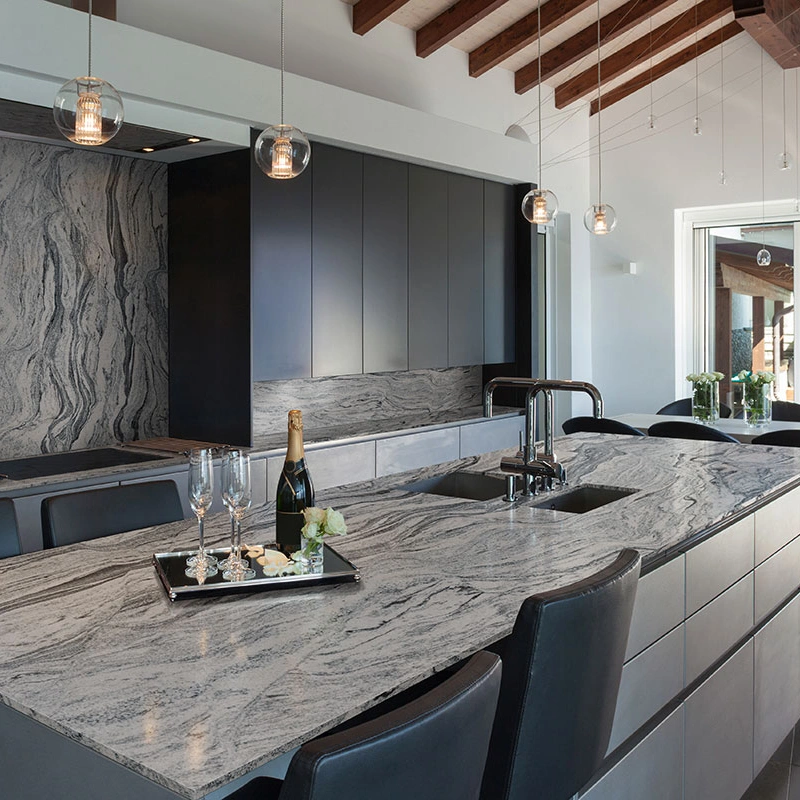
Layer your lighting by pairing puck lights with pendant fixtures or under-cabinet strip lighting for a dynamic, multi-dimensional look. This layering not only brightens your space but also adds depth and character.
Maintaining Your Under-Cabinet Puck Lights for Longevity
Regularly clean the lights and fixtures to prevent dust buildup.
Check wiring connections annually to ensure safety and performance.
Replace batteries or light modules as needed to maintain consistent brightness.
Upgrade to energy-efficient LED puck lights for prolonged use and savings.
Where Can You Find Quality Cabinets and Lighting Solutions?
If you're planning a larger kitchen renovation, selecting the right cabinets is crucial. Discover options like Shaker cabinets for sale in Borger, Texas, or explore affordable RTA cabinets in Canyon, Texas, to complement your lighting upgrades. Combining quality cabinetry with expertly installed puck lights will make your kitchen truly stand out.
Frequently Asked Questions (FAQs)
How do I know what wattage to use for my puck lights?
LED puck lights generally come with wattages ranging from 3W to 7W. Select a wattage that provides sufficient brightness (measured in lumens) for your space, usually around 200-300 lumens per light for kitchen task lighting.
Can I install puck lights on any type of cabinet?
Most cabinet surfaces are suitable for puck light installation, including wood, laminate, or MDF. However, ensure the surface can support screws and isn't made of materials that could be damaged easily.
Is electrical wiring required for wireless puck lights?
Wireless puck lights operate on batteries, eliminating the need for wiring. This makes installation simpler and ideal for renters or DIYers who prefer not to mess with electrical work.
How do I choose the right style and finish for my puck lights?
Match the finish to your cabinet hardware, appliances, and overall kitchen décor. Popular options include brushed nickel, chrome, black, or matte finishes to suit various design themes.
Conclusion
Knowing how to install puck lights under kitchen cabinets empowers you to improve both the aesthetics and functionality of your kitchen. With proper planning, the right tools, and careful execution, you can achieve professional-looking results that brighten your space and increase its appeal. Remember, a well-lit kitchen isn't just beautiful—it's functional, comfortable, and welcoming.
If you're considering a full cabinetry upgrade, explore cabinet options in Happy, Texas, or browse for creative storage solutions like spice racks and decorative finishes to further enhance your kitchen environment.