How to Install Cabinet Under-Cabinet Lights for Task Illumination
Transform Your Kitchen with Proper Under-Cabinet Lighting
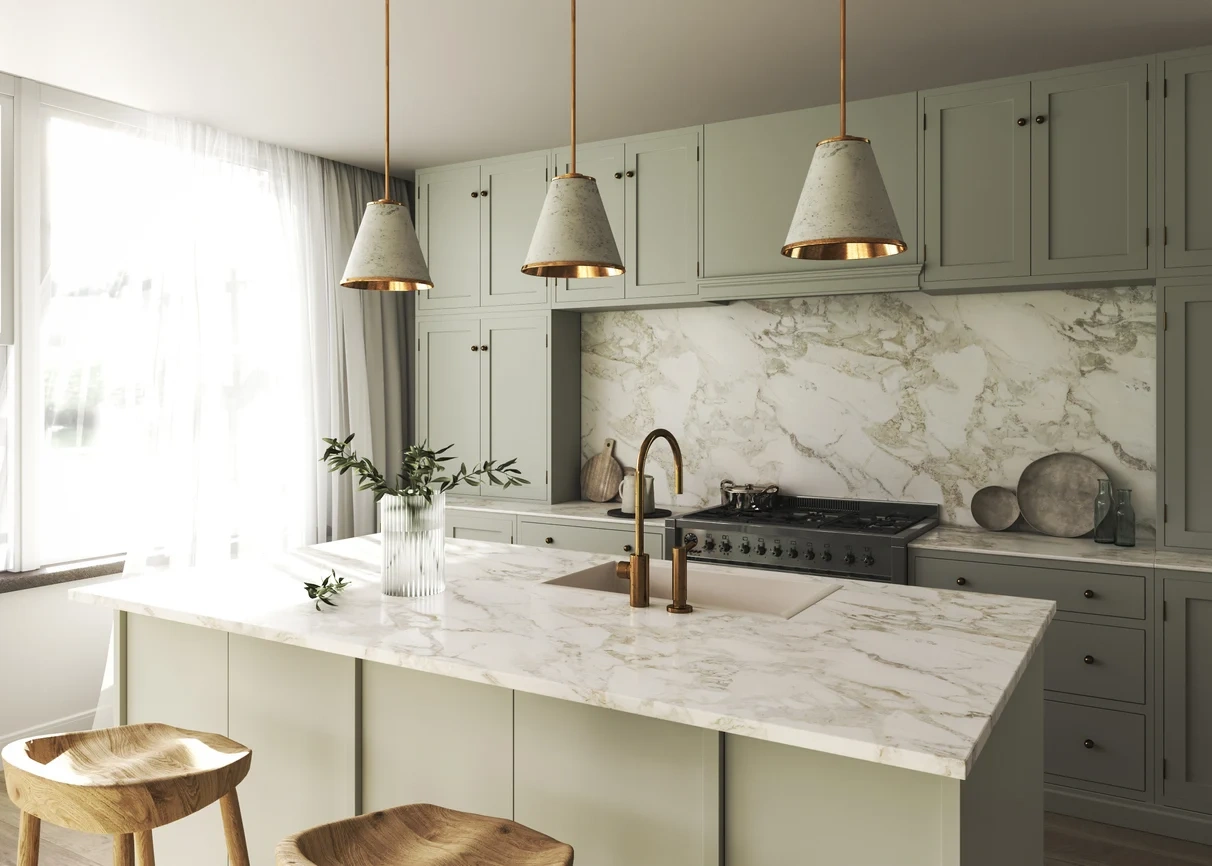
Your kitchen is the heart of your home, a space that combines functionality with style. Yet, even the most beautiful kitchens can fall short without strategic lighting. How to install cabinet under-cabinet lights for task illumination is a crucial step in bringing both practicality and a modern aesthetic to your culinary space. This guide offers revolutionary insights that will empower you to upgrade your kitchen lighting with confidence and expertise.
Why Is Under-Cabinet Lighting Essential for Your Kitchen?
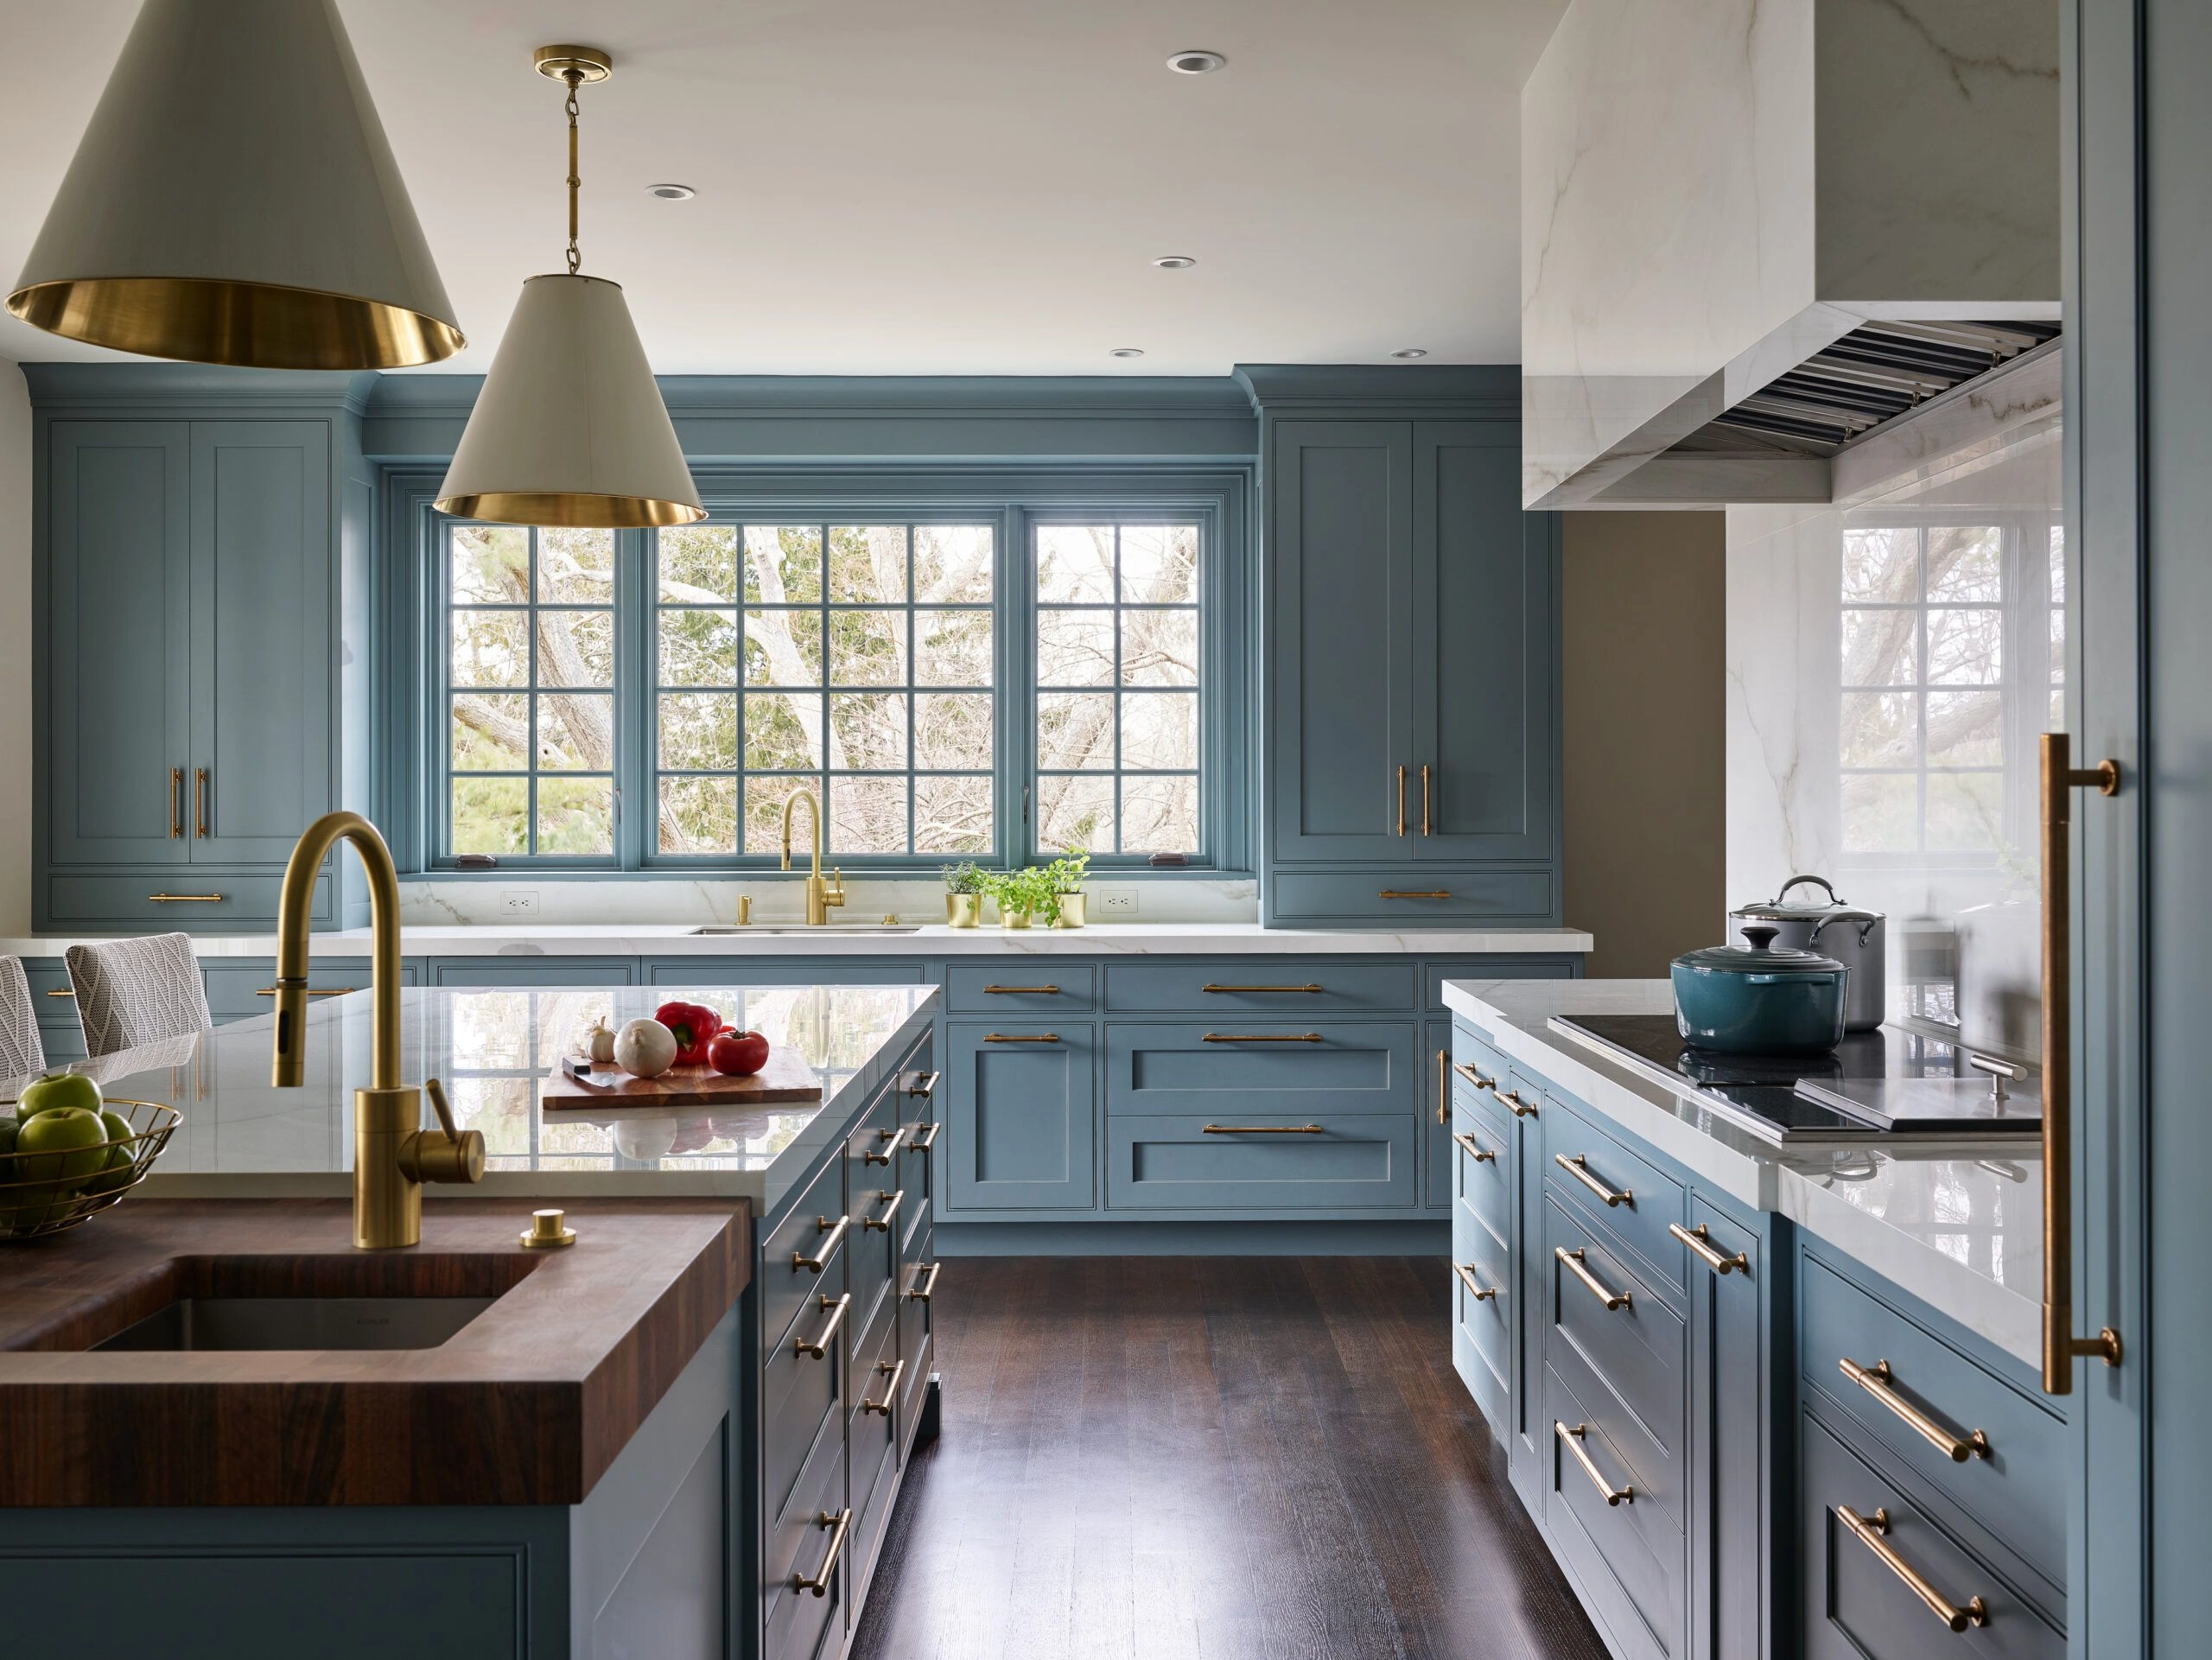
Under-cabinet lighting provides more than just illumination; it creates a focused, efficient workspace. Say goodbye to shadows and dark corners on your countertops. Proper task lighting enhances visibility during food prep, cooking, and cleanup, reducing eye strain and increasing safety. Beyond functionality, it adds ambiance and elevates the aesthetic appeal of your kitchen, making it a welcoming hub for family and friends.
What Are the Types of Under-Cabinet Lights, and Which Is Best for Your Kitchen?
LED Strip Lights: Flexible, energy-efficient, and easy to install, LED strips provide even lighting across a wide surface. They come in various colors and brightness levels, perfect for modern kitchens.
Puck Lights: Compact, round fixtures that deliver focused light. Ideal for small or specific task areas and can be mounted directly under cabinets.
Bar or Linear Lights: Providing broader illumination, these fixtures are sleek and ideal for continuous under-cabinet lighting runs.
Xenon or Halogen Lights: Bright and warm, but less energy-efficient. Suitable for accent lighting rather than task lighting.
Choosing the right type depends on your kitchen's design, your lighting needs, and energy efficiency goals. For comprehensive task illumination, selecting the best LED brightness ensures optimal performance.
How to Prepare Your Kitchen for Installation?
Preparation is key to a smooth installation process. Here's what you should do:
Clear the countertop area under the cabinets to provide workspace.
Locate existing electrical outlets or plan for wiring routes.
Measure the length of your cabinets’ undersides to determine how much lighting material is needed.
Decide on the type of switch—hardwired or plug-in—for easy operation.
If necessary, turn off power from the circuit breaker to ensure safety during installation.
What Are the Step-by-Step Instructions to Install Under-Cabinet Lights?
Follow these precise steps for a flawless installation:
1. Measure and Plan Your Lighting Layout
Accurate measurements prevent gaps and ensure even lighting. Run a tape measure along the length of your cabinets and mark mounting points for fixtures. Consider the placement of outlets—most under-cabinet lights connect easily to existing wiring, but additional wiring may be needed for a seamless look.
2. Choose the Right Mounting Hardware
Most lights come with mounting clips or brackets. Use a level to ensure perfect alignment. For LED strips, adhesive backing is common, but supplemental clips may provide extra security. For puck lights, drilling holes for screws ensures firm attachment.
3. Install the Lighting Fixtures
LED Strip Lights: Cut the strips to length at designated cut points. Paste them under the cabinets, ensuring the adhesive surface sticks securely. Connect the strips to a power supply and hide wires behind the cabinetry.
Puck or Bar Lights: Mark the locations, drill pilot holes if needed, and mount fixtures using screws or clips. Connect wiring carefully, following manufacturer instructions.
4. Connect to Power and Test
Once fixtures are mounted, connect them to power sources—either plug-in or hardwired. Turn the circuit back on and test lighting functionality. Adjust positioning if necessary to maximize coverage and aesthetic appeal.
How Can You Achieve a Professional Finish During DIY Installation?
Attention to detail transforms a DIY project into a professional-grade outcome. Use a level for all fixtures to ensure straight lines. Conceal wiring with cable management accessories or molding to prevent unsightly wires. Consider using dimmable lights to control brightness and ambiance—see dimmable under-cabinet lighting installation guide for tips.
What Are Common Mistakes to Avoid When Installing Under-Cabinet Lights?
Overlooking electrical safety—always turn off power before installation.
Incorrect measurements leading to uneven lighting or gaps.
Using incompatible fixtures or connectors—check specifications thoroughly.
Failing to secure wiring properly, risking damage or fire hazards.
Ignoring manufacturer instructions—each product may have unique requirements.
How to Maintain and Upgrade Your Under-Cabinet Lighting?
Regular maintenance involves cleaning fixtures to prevent dust accumulation and checking connections for wear. To upgrade, consider switching to smarter, app-controlled LED systems for customizable lighting scenes and easy adjustments.
Can Under-Cabinet Lights Help Improve Your Kitchen’s Efficiency?
Absolutely. Well-placed task lighting not only brightens your workspace but also enhances safety and reduces fatigue. For a truly efficient home office setup integrated within your kitchen, explore cabinet systems for home office efficiency.
Where Can You Find Expert Assistance for Complex Installations?
If DIY isn't your preference, consulting with professionals guarantees perfect results. Many local cabinet manufacturers near Pampa, Texas, and expert electricians can offer tailored solutions, especially for intricate wiring or custom installations.
FAQ: Your Under-Cabinet Lighting Questions Answered
Q: How long does it take to install under-cabinet lighting?
A: Depending on your experience and the complexity of the project, installation can take between 2 to 6 hours.
Q: Do I need an electrician to install under-cabinet lights?
A: If wiring involves hardwiring connections to your electrical system, professional help is recommended. For plug-in LED strips, basic DIY skills are sufficient.
Q: What is the best brightness level for task lighting?
A: Typically, 300-400 lumens per foot provides bright, effective illumination without being harsh. For detailed guidance, visit this resource.
Q: How can I incorporate dimmable under-cabinet lights?
A: Use compatible dimmer switches or remote-controlled LED systems to adjust brightness seamlessly. For installation tips, refer to dimmable lighting guide.
Conclusion: Revolutionize Your Kitchen with Expert-Designed Lighting
Achieving perfect under-cabinet lighting is no longer a daunting task. With the right tools, a strategic plan, and expert guidance from Noble Cabinets, you can revolutionize your kitchen, making it more functional, stylish, and inviting. Invest in quality lighting and installation expertise to transform your culinary space into a modern masterpiece—where every task becomes effortless and every moment shines.