Cabinet Reassembly Instructions for DIY Projects | Step-by-Step Guide
Why Proper Cabinet Reassembly Is Essential for Your DIY Success
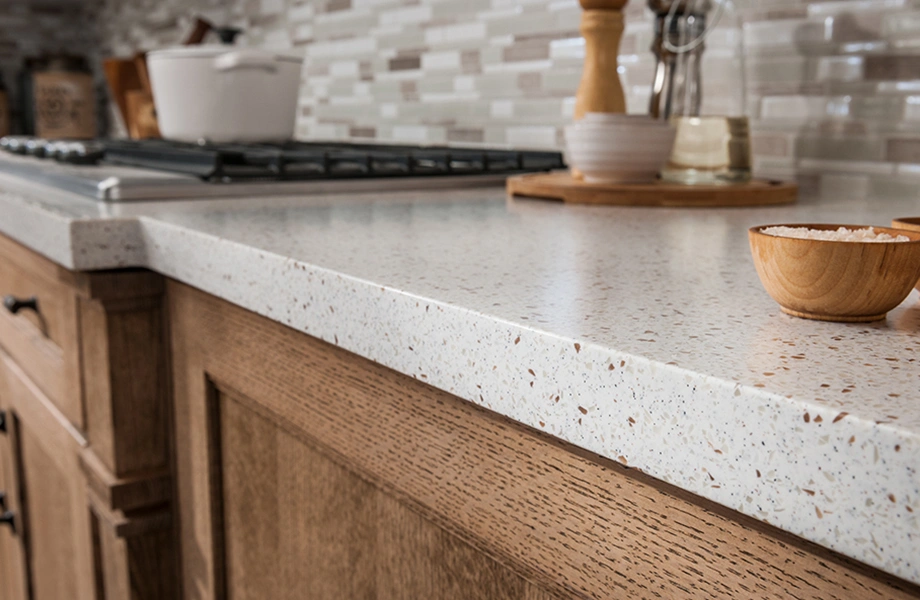
Embarking on a cabinet reassembly project can be an empowering way to upgrade your home without breaking the bank. However, the process requires meticulous planning, understanding of hardware, and precise execution. Simply taking cabinets apart doesn’t guarantee they’ll look or function perfectly once reassembled. That's why having comprehensive cabinet reassembly instructions for DIY projects is crucial. At Noble Cabinets, we’ve compiled expert tips that help you approach every step confidently, ensuring your project results in durable, attractive cabinets that stand the test of time.
What Are the Common Challenges Faced During Cabinet Reassembly?
Understanding typical pitfalls allows you to prepare better and avoid costly mistakes. Common challenges include:
Misalignment of cabinet doors and drawers.
Incorrect hardware installation leading to loose or stiff components.
Damaged or stripped screws and hinges.
Difficulty in managing limited workspace or awkward angles.
Inadequate cleaning or preparation before reassembly, leading to poor finish.
Knowing these potential issues underscores the importance of following detailed cabinet reassembly instructions for DIY projects that are clear, step-by-step, and tailored for homeowners like you.
How Do You Prepare for a Successful Cabinet Reassembly?
Preparation is the backbone of any successful DIY project. Here’s how to get ready:
Gather Your Tools and Materials: Ensure you have all necessary tools such as screwdrivers, drills, levelers, adhesives, and replacement hardware. Referring to the best cabinet hardware for modern kitchens can help you choose the right pieces that match your vision.
Organize All Components: Keep screws, hinges, panels, and hardware sorted in labeled containers. This organization simplifies the reassembly process and minimizes errors.
Inspect for Damage: Before reassembling, evaluate all parts for wear, cracks, or warping. Replace damaged components promptly to prevent future issues.
Create a Clear Workspace: Clear your area of clutter and ensure sufficient lighting. A tidy environment reduces accident risks and enhances precision.
What Is the Step-by-Step Process for Cabinet Reassembly?
Follow this structured approach to reassemble your cabinets efficiently:
1. Reattach the Cabinet Frame
Begin with the main structure. If your cabinets were disassembled for painting or repair, ensure the frame is clean and free of debris. Using a level and measuring tape, align the frame accurately on the wall or base. Secure it firmly with appropriate hardware, adjusting for evenness.
2. Install Hinges and Mount Doors
Next, attach hinges to the doors and mount them onto the frame. For precision, use a hinge jig if available, ensuring the doors hang level and operate smoothly. Adjust hinge screws to correct misalignments initially. It’s advisable to temporarily fasten doors to check alignment before finalizing the hardware.
3. Attach Drawers and Interior Components
Reassemble drawers last, as their placement affects overall cabinet functionality. Install slides, ensuring they are level and securely attached to both the drawer and cabinet frame. Use the manufacturer’s instructions for the specific hardware you’ve chosen. For expert recommendations, check out the built-in office cabinets options for inspiration.
4. Secure Hardware and Accessories
Finally, attach handles, knobs, and any custom accessories. Use an appropriate drill bit to prevent damaging the finish. Ensure all hardware is tightly fastened and functions as intended. Regularly test the opening and closing of doors and drawers during reassembly to confirm proper alignment.
How Can You Ensure Your Cabinets Look Professional After Reassembly?
Achieving a polished look involves attention to detail at each step:
Double-check door and drawer alignment, making small adjustments as needed.
Use a level frequently to maintain straight lines.
Apply cabinet polish or finishing touches to enhance appearance.
Replace old or worn hardware with modern, durable options for an updated look.
Keep hardware consistent across cabinets to maintain harmony.
For a sleek, modern upgrade, explore options like bamboo cabinets, which provide eco-friendly durability and aesthetic appeal. They blend seamlessly with various interior styles while offering sustainable benefits.
What Are Some Tips for a Smooth and Efficient Cabinet Reassembly Experience?
Take Photos During Disassembly: Document each step to reference during reassembly, ensuring hardware placement and component orientation are correct.
Work Incrementally: Complete one section at a time, such as door installation before moving to drawers. Patience reduces mistakes.
Use the Right Tools: Invest in quality tools designed for cabinetry. A good drill and screwdriver can significantly reduce effort and improve precision.
Seek Help When Needed: Some tasks, especially large or heavy cabinets, benefit from an extra pair of hands. Safety always comes first.
Follow Expert Guides: For additional insights, access comprehensive resources like our storage optimization tips to make the most of your space during reassembly.
Can Proper Reassembly Extend the Lifespan of My Cabinets?
Absolutely. Reassembling cabinets correctly not only restores their aesthetic appeal but also enhances durability and functionality. Proper hardware installation prevents wear and reduces the risk of future damage. Regular maintenance combined with careful reassembly ensures your cabinets remain a stylish and reliable part of your home for years to come.
Frequently Asked Questions (FAQ)
What tools do I need for cabinet reassembly?
Essential tools include screwdrivers, a power drill, a level, a measuring tape, and possibly a hinge jig. Having quality tools makes the process smoother and protects your cabinetry surfaces.
How long does cabinet reassembly typically take?
The duration varies depending on cabinet size, complexity, and your experience. Small cabinets might take a few hours, while larger, custom-built units may require a full day or more.
Is it necessary to remove everything before starting reassembly?
Yes, disassembling and removing all components simplifies access, ensures thorough cleaning, and helps identify any damage or worn parts that require replacement.
Should I hire a professional for reassembling my cabinets?
While DIY is feasible with proper instructions, for complex or large-scale projects, consulting a professional ensures optimal results, especially if you lack experience or the necessary tools.
Conclusion: Transform Your Space with Expert Cabinet Reassembly
Reassembling cabinets may seem daunting at first glance, but with the right cabinet reassembly instructions for DIY projects, it becomes a manageable and rewarding task. Whether you're restoring old cabinets or upgrading your kitchen, following a step-by-step plan ensures your cabinets are both beautiful and functional.
Remember, taking your time, preparing adequately, and consulting trusted resources like Noble Cabinets can truly make a difference. For innovative ideas on customization and hardware upgrades, explore our detailed posts or contact us to find the perfect cabinets for your home.
Looking for inspiration or professional guidance? Discover how to optimize your storage with our expert tips or explore our selection of stylish and durable built-in office cabinets. Need the best place to buy custom cabinets in Pampa, Texas? We’ve got you covered.